Section author: Robert Nikutta <robert.nikutta@noirlab.edu>
Version: 20250221
1.3.3.5. Uploading data
External data files can be uploaded using the Web Portal, either as tables to your MyDB remote database, or as files to your VOSpace remote file storage.
1.3.3.5.1. Upload a file as a table in MyDB
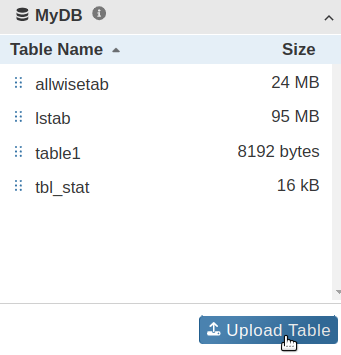
To upload a CSV file from your local machine to a table in your MyDB remote database at Data Lab, click on the blue button labeled “Upload table”, located at the bottom of the MyDB section in the left-hand side “Data Sources” panel.
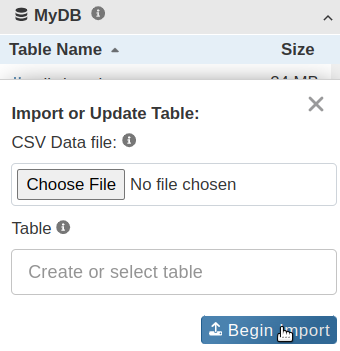
Two fields need to be populated. The first one allows you to pick a local CSV file from your drive, the second takes the name of the table in your MyDB.
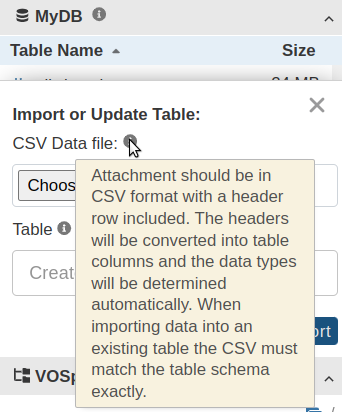
Notice the tooltips explaining the formatting of the CSV file.
We will use a test_tiny.csv example file that looks like this:
ra,dec,id,filter,class
18.23,45.4533,1,g,0.1
19.343544,46.3443,2,DECam r,0.6
15.3445,NaN,3,K',0.9
Note these CSV file formatting requirements:
One header line (no leading comment character) with column names
small-caps column names
Columns names must only include the characters a-z, 0-9, and _
Columns names must begin with a-z or _
No whitespace after commas
Equal number of columns in every row
NaN ok
String-valued fields may be enclosed in quotes “like this” to improve the robustness of ingestion (but it’s not strictly required, and is not the case in our example above)
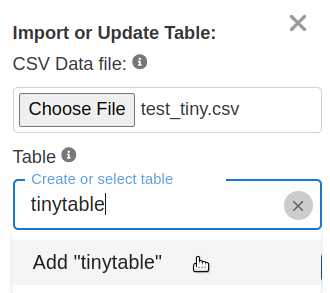
If you enter a new table name (not yet existing), an “Add ‘tablename’” prompt will drop down. Click on it to create this new (and for now, empty) table. Otherwise, if you type the beginning of an existing table name, you can select the table in the drop-down. In this example, we import into a new table named ‘tinytable’.
Finally, click on the “Begin import” button, and the content of your CSV file will be imported into the new table, or appended to the existing table (but only if the schema of the CSV file conforms exactly with the schema of the existing table, i.e., same number and order of columns, same columns names, and same column data types). The upload progress will be displayed in the Status Panel.
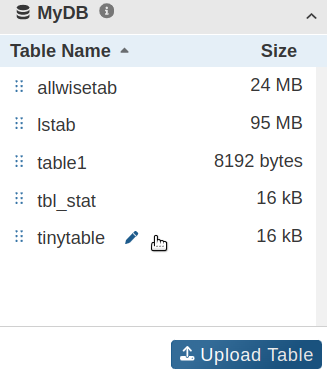
Once uploaded, the new MyDB table is immediately accessible, e.g., in the Context Panel, and in queries.
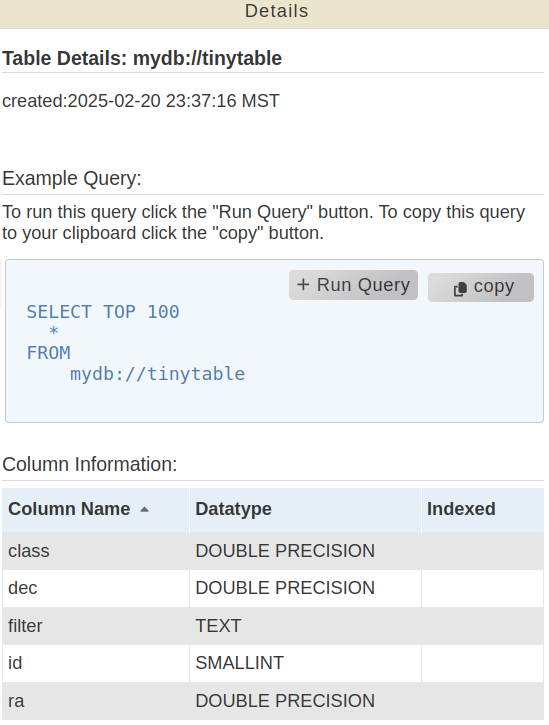
Figure: Details of the new table seen in the right-hand side Context panel.
1.3.3.5.2. Upload a file to VOSpace
You can use the VOSpace section of the Data Sources panel to upload a file to your VOSpace remote file storage at Data Lab. These can be, for instance, CSV file, FITS images, and any other types of files.
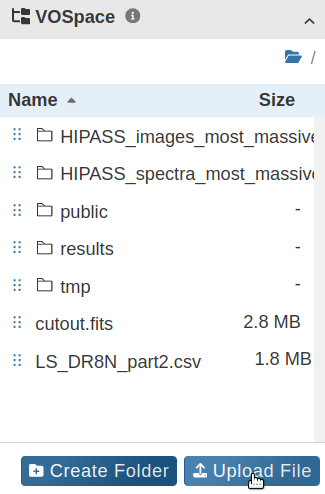
To begin an upload, navigate to the desired target directory (or create a new one), and then click on the blue button labeled “Upload File” in the bottom-right corner.
A file selection dialog pops up. Click on “Choose File” and find the file you wish to upload from your local computer. Here, we will upload a small CSV file named “test_tiny.csv”.
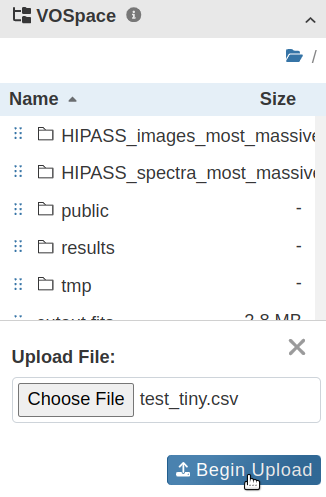
Click on the “Begin Upload” button. The file will be uploaded to the target directory, and the upload progress will be shown in the Status Panel.
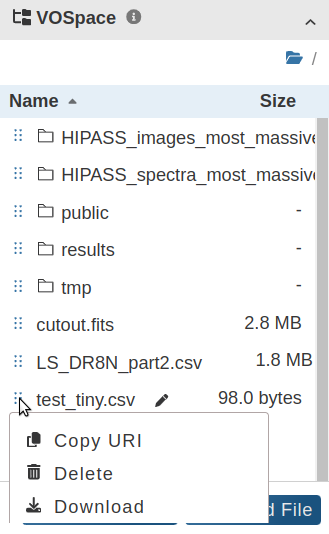
The uploaded file is then immediately available in your VOSpace.
